
The Real Cost of Art
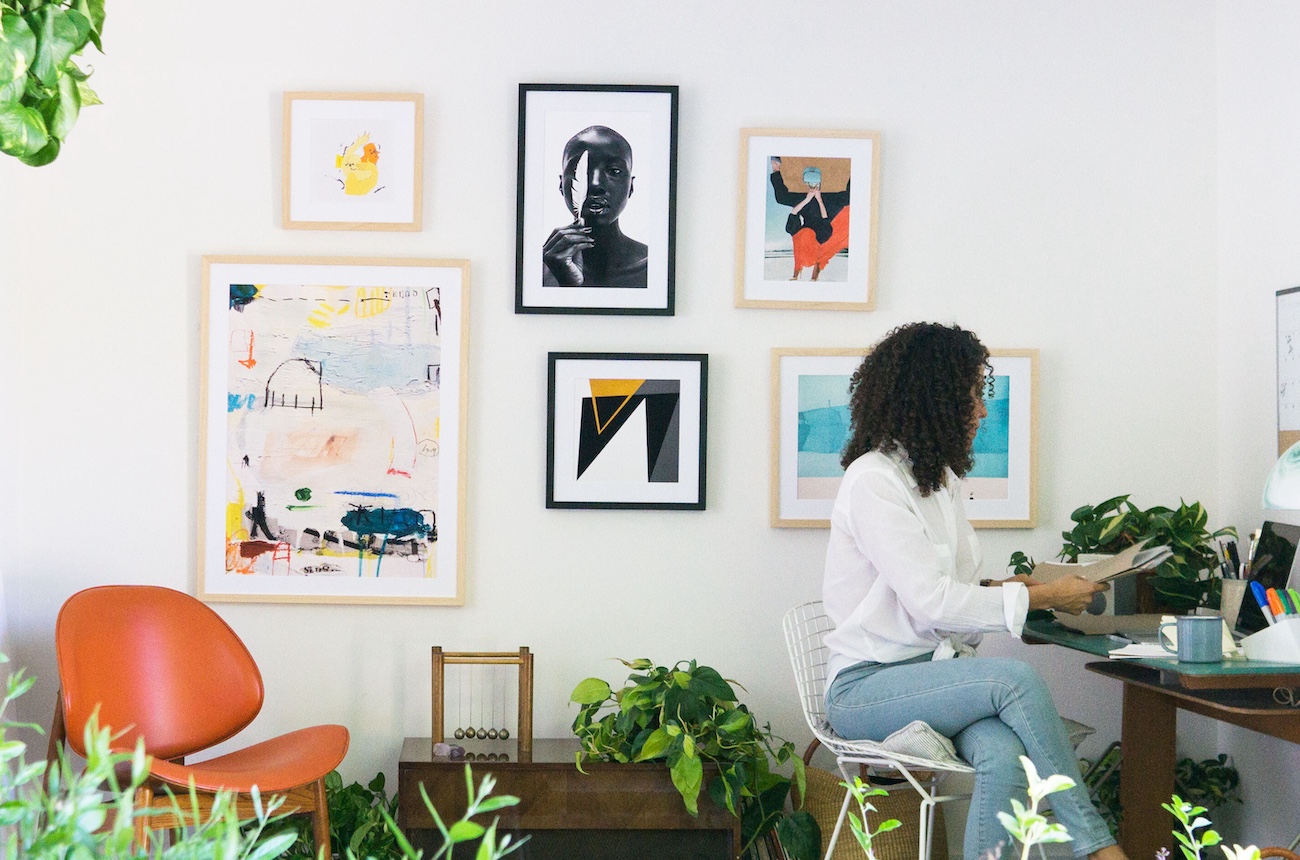
Find Your Art Style

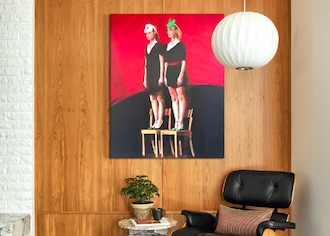
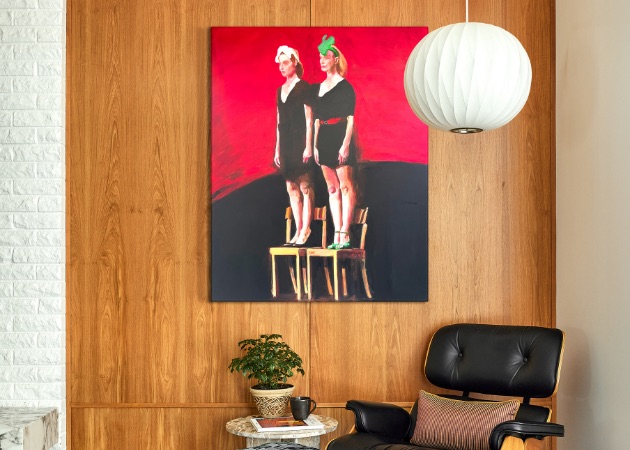
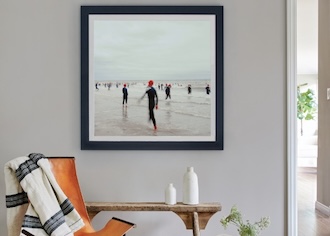
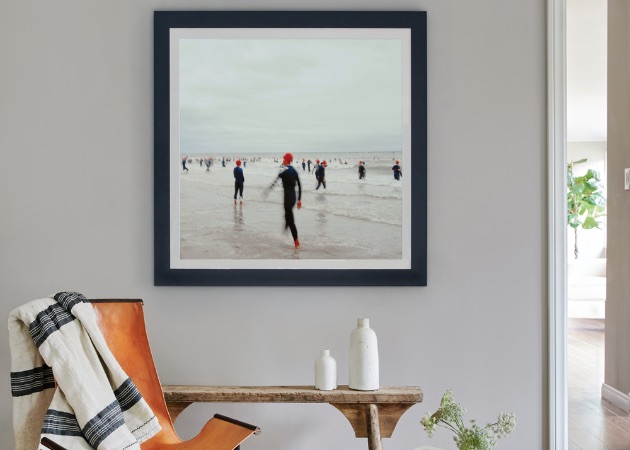
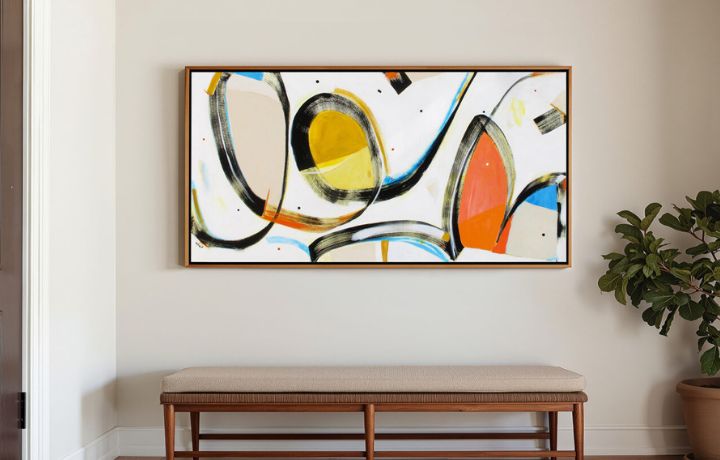
Create a Focal Point
Affordable Finds
Shop by Category


Why Shop On Saatchi Art?
Saatchi Art is the best place to buy artwork online with confidence. Discover original paintings, fine art photography, sculpture, and more from the world's largest selection of original art.
Global Selection
Explore a worldwide selection of original artwork for sale by thousands of artists.
Satisfaction Guaranteed
Our 14-day satisfaction guarantee allows you to buy with confidence.
Thousands of 5-Star Reviews
We deliver world-class customer service to all of our art buyers.
Support Emerging Artists
We pay our artists more on every sale than other galleries.
New Horizons

€2,074

€6,042

€889

€3,030

€16,193

€742
")
€2,223

€2,112

€1,842

€2,270

€2,609

€1,749

€1,500

€3,834

€1,272

€4,427

€2,754

€1,143

€782

€1,968

€1,289
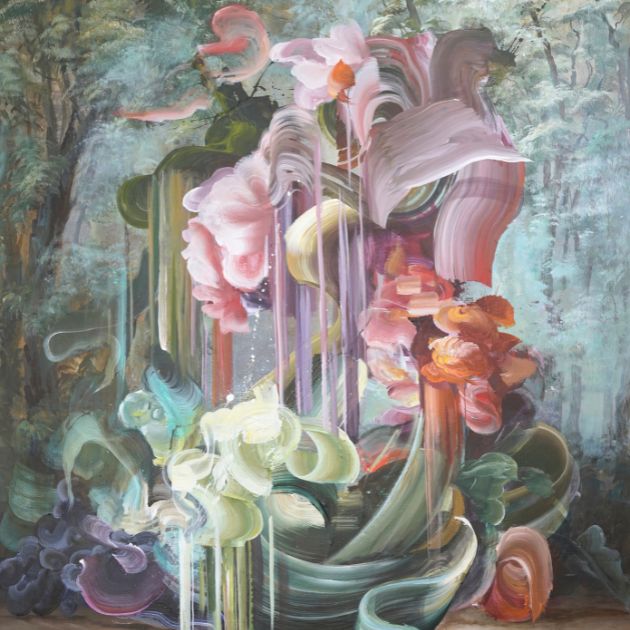
Radiant Vista - Abstract Landscape Painting
Suzanne Vaughan, United States
Oil on Canvas
76.2 x 76.2 cm

€4,259

€694

€2,431
Wintertime Flora & Fauna

€738

€1,730

€587

€459

€2,155
Bouquet Of Flower, Still Life Floral Bouquet The Dark Background Painting
Oil on Canvas
45.7 x 55.9 cm

€1,887

€1,904
 / In the end of winter\"")
€1,815

€2,367

€645

€1,551

€561

€353

€1,522

€718

€336

€1,359

€1,847

€470
The Prevernal Watch Of Renata & Bertrand, #1 Of 4 Mixed Media
Somnmigratory Studio, United States
Artificial Intelligence on Fine Art Paper
15.2 x 15.2 cm

€9,677

€132

€1,670

€1,947

€1,386
Shop by Price
Loved by Collectors Worldwide

"Saatchi Art made our experience super easy. Painting from across the other side of the world arrived promptly, in perfect condition with a lovely note from the artist. Thank you."
Mark
Emerald Dreams Painting by Guzaliya Xavier

"I've been collecting art on-line regularly since the COVID shutdown. Of the three platforms I've used, Saatchi Art is my fave. The selection and variety are astounding (I find too many things I want!). The prices are competitive, and the Customer service is THE best."
Ronald R.
Snowy Still Life Painting by Olena Kamenetska-Ostapchuk

"This large painting was perfectly packed in a thick wooden box. It arrived more quickly than I thought. I lost all my art in the Altadena, California fire. I would not hesitate to purchase again from Saatchi Art"
Private Collector
African Drongo Painting by Dan Vance
")
"I recently commissioned an artist to paint two pieces of artwork for me. The experience was stress free and I now have 2 beautiful paintings exactly how I envisioned them. The Saatchi Art representative, Siting Wang, was very helpful with the communication with the artist."
Susan R.
Islands (Ocean Dreaming) Painting by Alexander Jowett

"I could not be happier with all of the interactions I have had with Saatchi Art. They carry many artists and there are beautiful pieces to choose from. If the artist is willing, you can also commission pieces which the people at Saatchi Art guide you through every step of the way."
Sara
Blue Ribbon Painting by Catherine Denvir

"Great to be able to explore a variety of international artists, and the clarity of pricing (including delivery and estimation of taxes etc) made it easy to find something in budget. I also found the online advisors very helpful and am so pleased with my purchase."
Charlotte
Garden Of Dream 9 Painting by Katia Solodka
"Saatchi Art made our experience super easy. Painting from across the other side of the world arrived promptly, in perfect condition with a lovely note from the artist. Thank you."
Mark
Emerald Dreams Painting by Guzaliya Xavier
"I've been collecting art on-line regularly since the COVID shutdown. Of the three platforms I've used, Saatchi Art is my fave. The selection and variety are astounding (I find too many things I want!). The prices are competitive, and the Customer service is THE best."
Ronald R.
Snowy Still Life Painting by Olena Kamenetska-Ostapchuk
Art Collecting Made Simple
View All

Personalized, Curated Experience
Discovering art you love should be easy and enjoyable. Our expert curators create weekly collections to simplify browsing and offer complimentary art advisory services, providing one-on-one guidance tailored to your taste, space, and budget.