Jonathan Kay Artworks
Back to profileAvailability
Category
Price
Size
Orientation
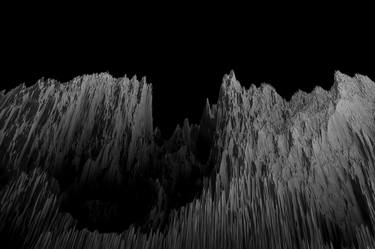
Photography, 39.6 W x 27.2 H x 0.1 D in
New Zealand
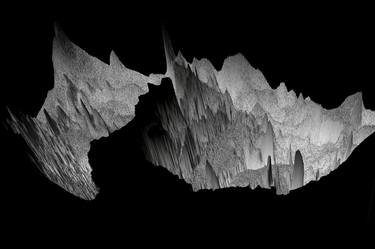
Photography, 39.6 W x 27.2 H x 0.1 D in
New Zealand
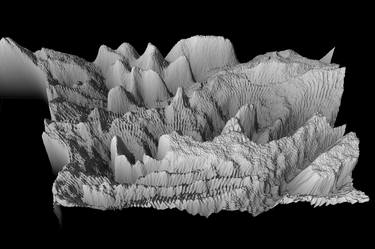
Photography, 39.6 W x 27.2 H x 0.1 D in
New Zealand
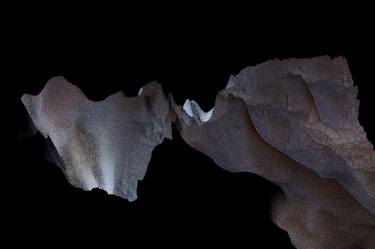
Photography, 39.6 W x 27.2 H x 0.1 D in
New Zealand

Photography, 39.6 W x 27.2 H x 0.1 D in
New Zealand

Photography, 100.5 W x 69 H x 0.1 D in
New Zealand

Photography, 39.6 W x 27.2 H x 0.1 D in
New Zealand

Photography, 39.6 W x 27.2 H x 0.1 D in
New Zealand

Photography, 39.6 W x 27.2 H x 0.1 D in
New Zealand

Photography, 39.6 W x 27.2 H x 0.1 D in
New Zealand
1 - 10 artworks
100 Results Per Page